Simulating VPS with VirtualBox, A Way To Learn DevOps Without Spending a Dime.
Tags:
If you're like me and wanting to learn every single bit of "brogramming" content you've seen on your social media feed, and maybe have seen this guy swirling around and are influenced to try and learn DevOps; then this post might be for you.

I will cover step by step on how to set up a VirtualBox with Ubuntu server so you can simulate a VPS you usually buy on Amazon EC2, Contabo, or similar providers.
Mind you that this set up is very limited, and if you have a spare computer laying around, you are better off using that as your lab.
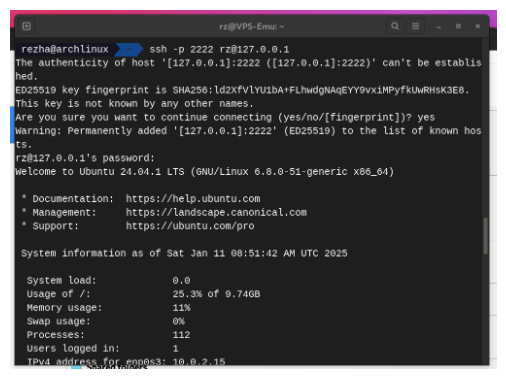
TL;DR: Use VirtualBox's NAT to map your VM's IP to a port, then you can ssh from your host with $ ssh -p <port-number> <user-name>@127.0.0.1
Downloads & Installation
Download VirtualBox from their official site here, or if you use arch linux btw then run this:
$ sudo pacman -S virtualbox (make sure to pick the correct module based on your kernel)
You also want to have an Ubuntu Server ISO, so grab it from their official site here. Pro tip: match the SHA sum with GPG to make sure you aren't a victim of MITM.
Setting Up Ubuntu Server on Virtual Box
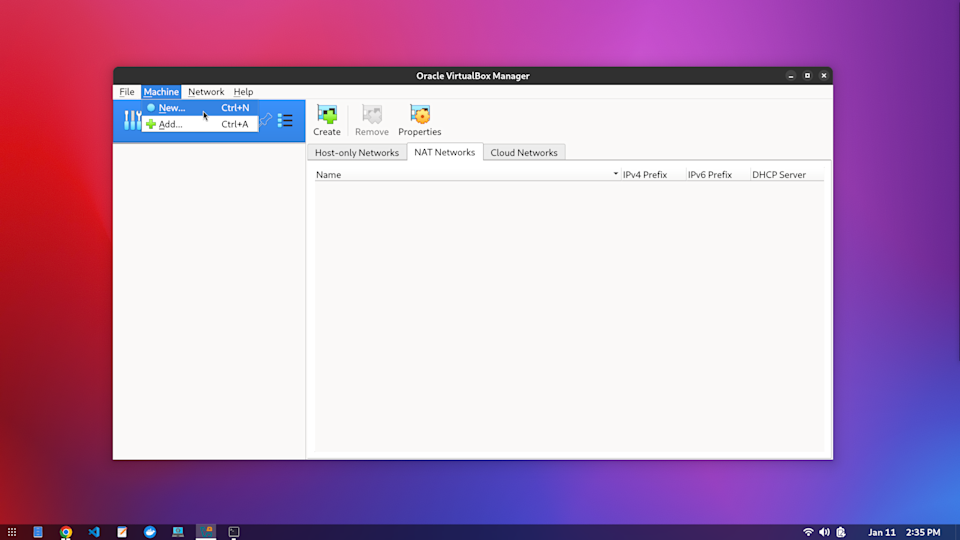
Open VirtualBox, click New. If not showing, pick Machine > New:
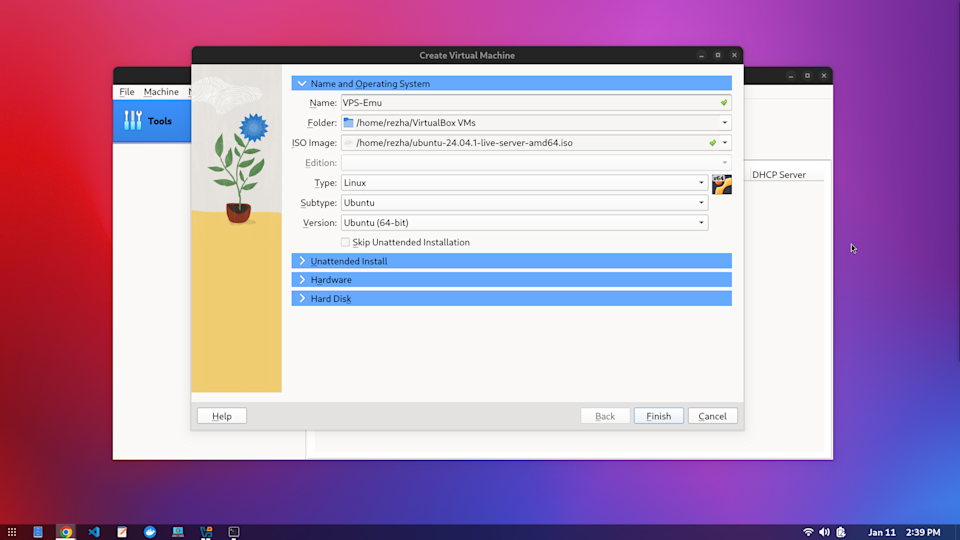
Select your ISO image and give this Virtual Machine (VM) a name:
Select Unattended Install dropdown, and fill in Username & Password. This will be the username & password you will use to SSH into the VPS:

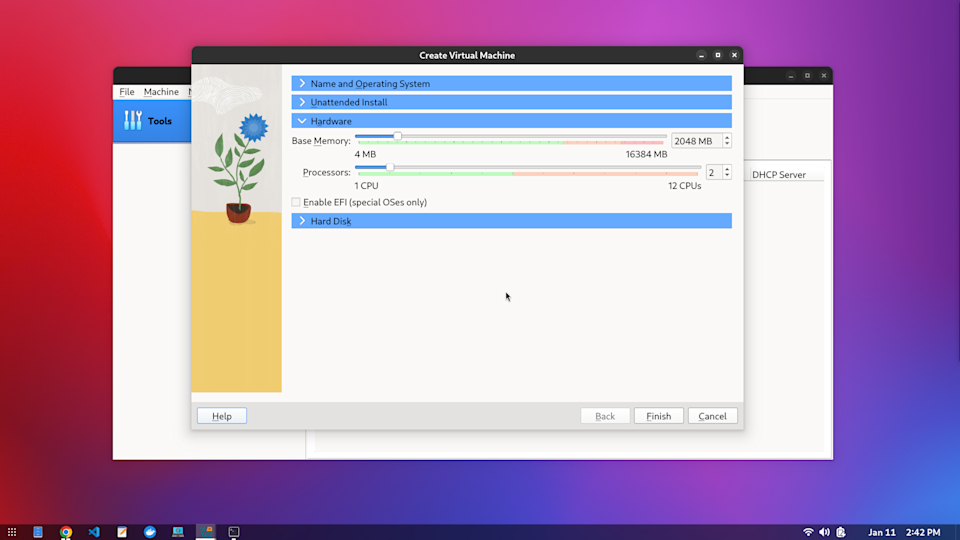
On Hardware dropdown, you can allocate RAM and CPU:
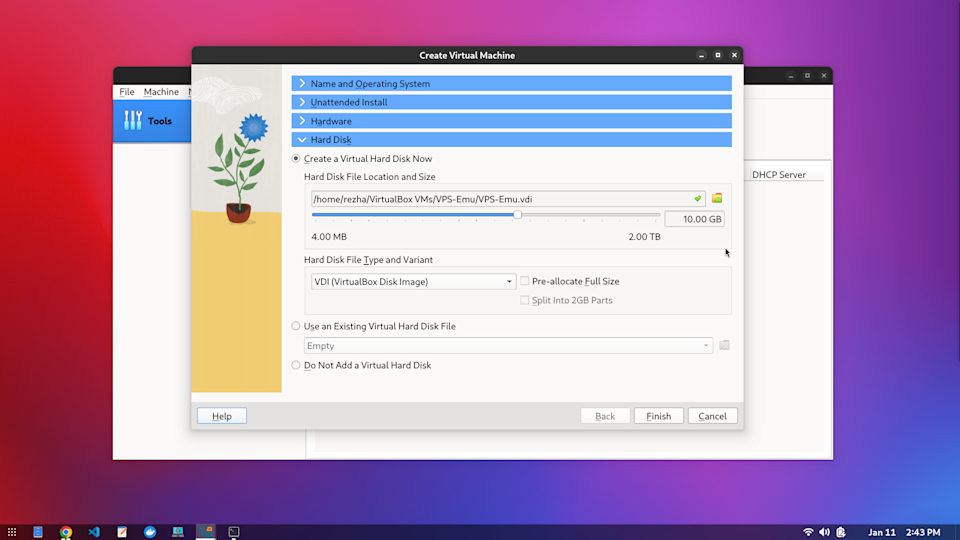
On Hard Disk dropdown, you can allocate the size of your VM's storage, then click Finish:
By configuring unattended install, the VM will auto start and installs ubuntu-server automatically. It'll take 15 minutes or longer until installation finishes. The VM will restart automatically and then you can try to enter your username and password.
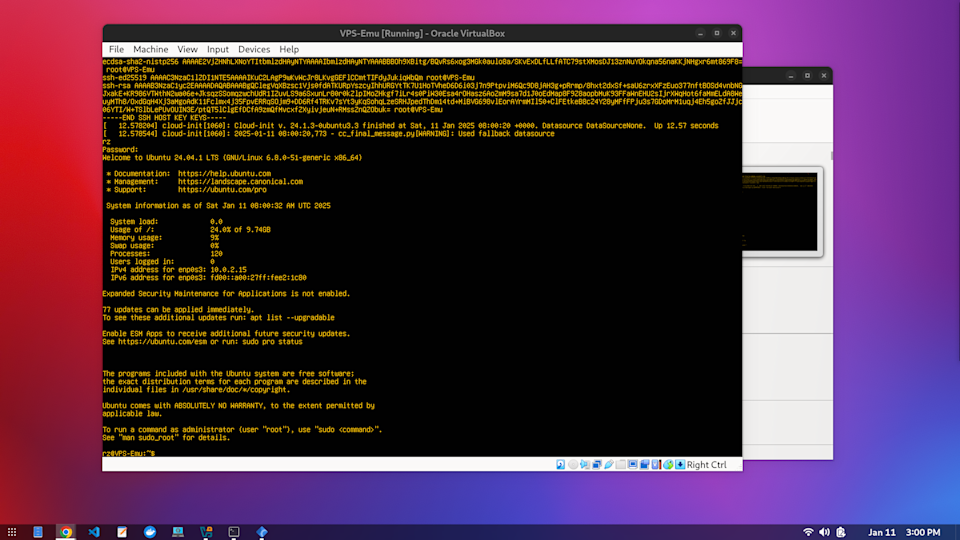
SSH and NAT
After correctly entering your username and password, run and confirm:
$ sudo apt upgrade
Then make sure openssh-server is running:
$ systemctl status ssh
If you don't see enabled anywhere, make sure it's installed and enabled by running these commands:
$ sudo apt install openssh-server
$ systemctl start ssh && systemctl enable ssh
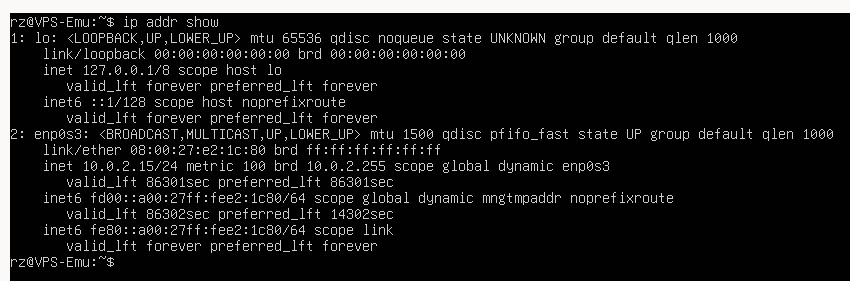
Since VM runs on the same machine as your host, we need to utilize VirtualBox's NAT Port Forwarding, and we need the VM's "public" IP address (technically, it's private. but we're pretending this is a real VPS!). Run this command:
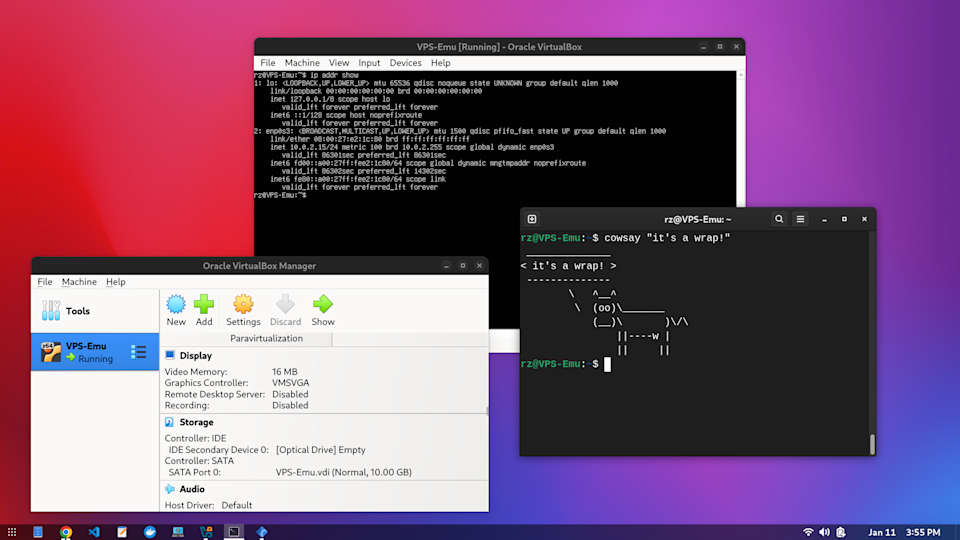
$ ip addr show
Grab the one after 1: Io, in this case it's 10.0.2.15:
Setting Up NAT
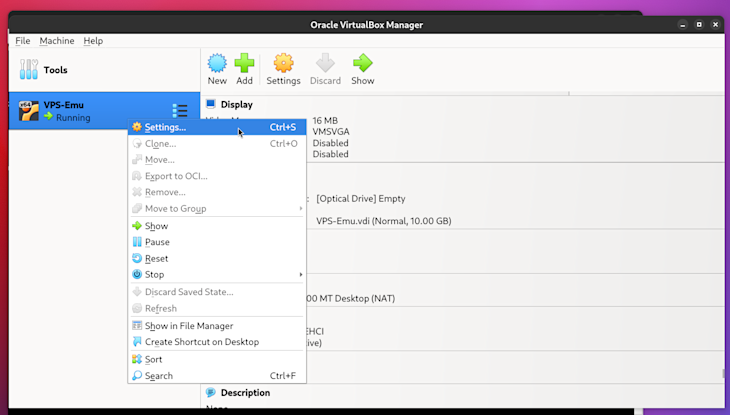
Now, for your VM to be accessed by your host machine, we need to set up NAT's Port Forwarding.
Go to your VM's Settings:
Pick Network, then Port Forwarding:
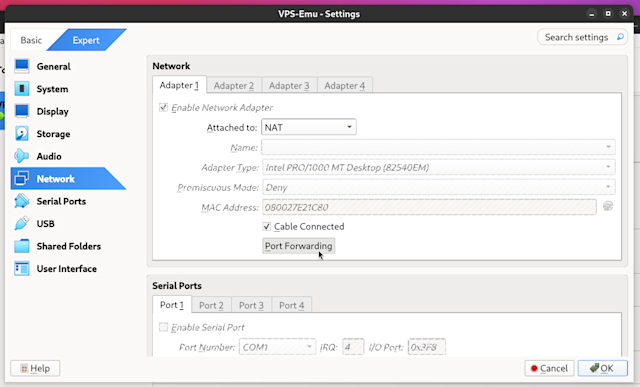
Create a new rule (clicking green plus icon on the right), and set it up like:
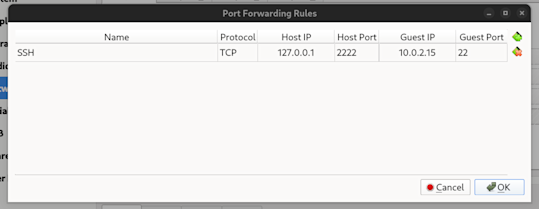
This tells VirtualBox to attach your VM's SSH service to port 2222.
SSH into your VM, input your username and password. That's a wrap! We've successfully utilizing VirtualBox's NAT Port Forwarding to simulate SSH-ing into a VPS.
Conclusion
Setting up a VM to act as a VPS is perfect for experimenting stuff. You can try to run docker there, k8s, or the baby version of k8s - Coolify (make sure your VM specs are sufficient, Coolify need at least 2GB RAM if I remember correctly - just to run Coolify!).
You can try out different VM specs, test its reliability and performance, to gauge on what VPS spec is right for you to buy on the real world.
It does come with its own shortcomings, the biggest is it's eating your host PC's CPU and RAM when running, and Hard Disk space even when not running, but with this set up you can easily experiment and not afraid to break stuff - because it's a VM, and it is disposable at will.